Your Keurig makes coffee every morning. But when did you last clean it? If you can’t remember, this guide is for you. Learning how to clean a Keurig with vinegar is one of the easiest things you can do at home. It takes less than an hour. It costs almost nothing. And it makes your coffee taste way better.Let’s get into it.
Why Your Keurig Needs Cleaning
Coffee leaves oil. Water leaves minerals. Both build up inside your machine over time. That buildup is called scale. Scale slows your Keurig down. It blocks water flow. It makes your coffee taste a little off, maybe bitter or flat.You might not notice it right away. But after a few weeks of daily use, it adds up. The inside of your machine gets gunky. The needle that pokes the K-cup gets clogged. The water reservoir gets slimy.
None of this sounds great, right?That’s why how to clean a Keurig with vinegar is something every coffee drinker should know. White vinegar breaks down mineral deposits. It kills some bacteria too. And you probably already have a bottle sitting in your kitchen.
What You Need Before You Start
You don’t need fancy supplies. Here’s the full list:
| Item | Why You Need It |
|---|---|
| White distilled vinegar | Breaks down scale and mineral buildup |
| Fresh water | For rinsing cycles |
| A clean cloth or sponge | For wiping the outside |
| A toothpick or paperclip | For cleaning the needle |
| Dish soap | For washing the removable parts |
| A large mug | To catch the liquid during cycles |
That’s it. No special cleaner needed. No expensive descaler unless you want one. Plain white vinegar works just fine.
Step 1: Take It Apart
Before you run any vinegar through your machine, take out the removable parts.Remove the water reservoir and its lid. Take out the K-cup holder and the drip tray. Set them all in the sink.Wash each piece with warm water and a small drop of dish soap. Rinse them well. Let them air dry or wipe them dry with a clean cloth.
This step matters more than people think. Soap scum and old water sitting in the reservoir can affect your coffee taste just as much as scale buildup inside the machine.While the parts dry, wipe down the outside of the machine. Use a damp cloth. Get the sides, the top, and around the brew head area. Coffee drips and splashes dry onto the surface and attract dust.
Step 2: Clean the Needle
This step is small but important. The needle inside your Keurig pokes a hole in every K-cup you use. Over time, it gets clogged with tiny bits of coffee grounds.A clogged needle means weak coffee. Sometimes it means no coffee at all.
Grab a toothpick or a straightened paperclip. Lift the handle and look for the needle. It sits inside the holder area at the top. Carefully poke the toothpick into the needle holes. Move it around gently to loosen any stuck grounds.Do the same for the exit needle at the bottom of the K-cup holder.Then rinse the area with water.This takes two minutes. It makes a real difference.
Step 3: Fill the Reservoir with Vinegar Solution
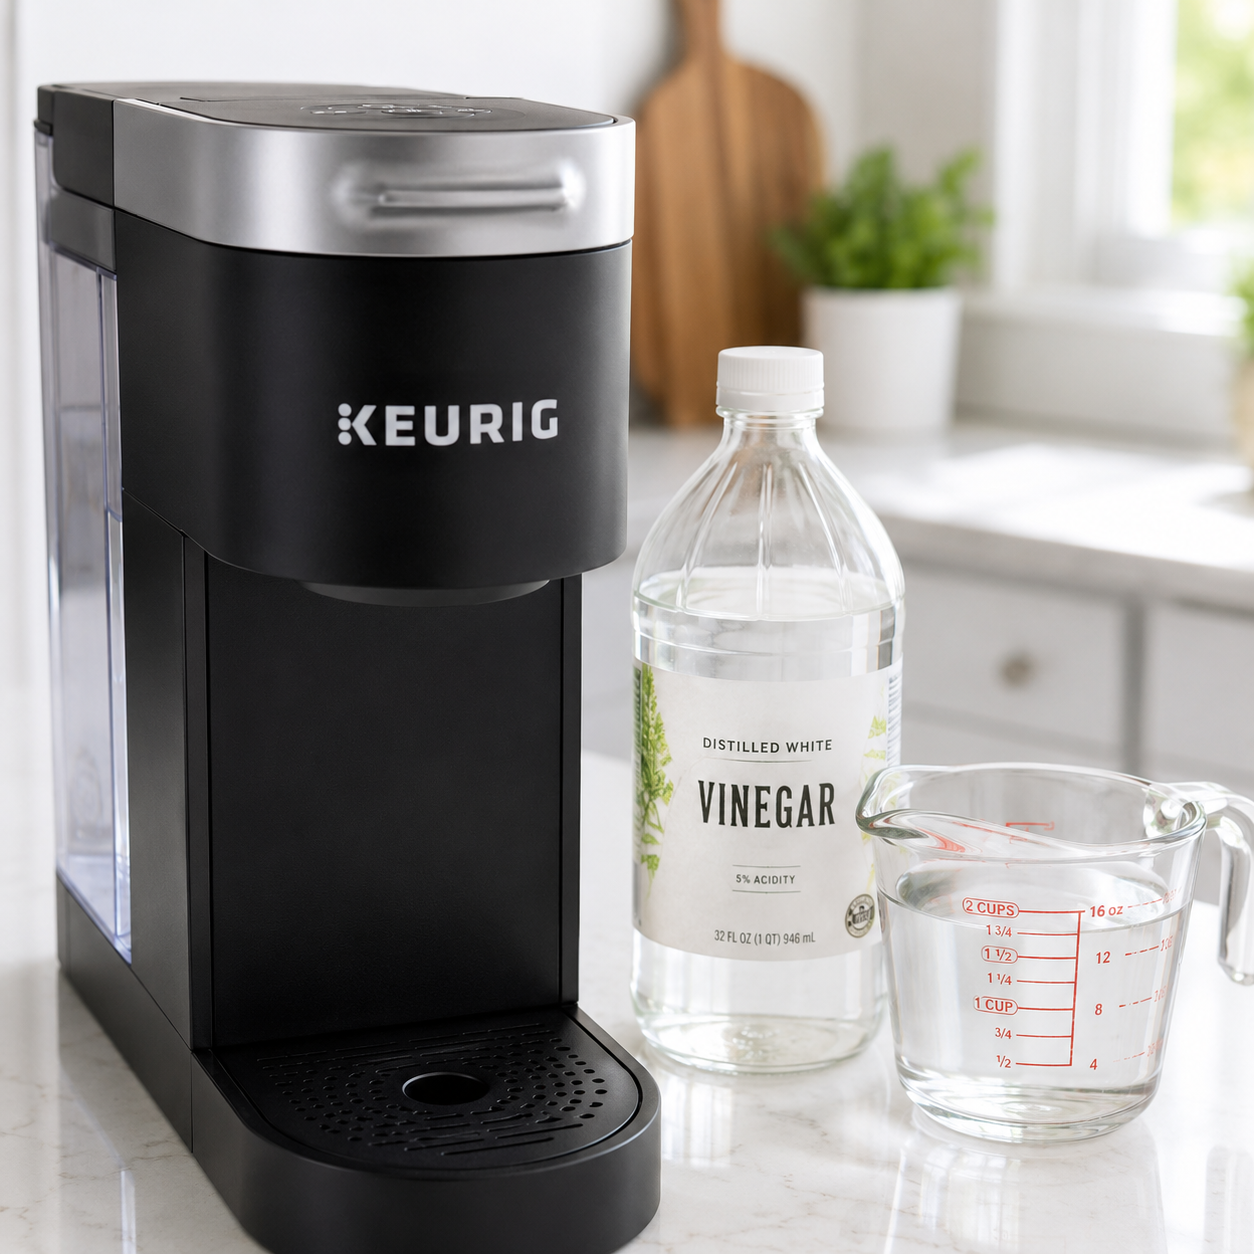
Now for the main event. This is the heart of how to clean a Keurig with vinegar.Put the water reservoir back on the machine. Fill it with a mix of white vinegar and water. Use equal parts, so half vinegar and half water. For most Keurig models, the reservoir holds about 48 ounces. That means about 24 ounces of vinegar and 24 ounces of water.
Do not add a K-cup. You’re running cleaning cycles, not brewing coffee.Place a large mug on the drip tray. You need something to catch all the liquid.
Step 4: Run the Vinegar Cycles
Turn on your Keurig. Wait for it to heat up. Then run a full brew cycle on the largest cup size. The machine will push vinegar solution through the internal parts and into your mug.Dump the mug. Run another cycle. Keep going until the reservoir is empty.This usually takes 3 to 4 cycles depending on your model.
The vinegar travels through every tube, valve, and heating element inside your machine. It dissolves mineral scale as it moves through. This is what actually descales your Keurig and gets it running clean again.You might smell vinegar strongly during this process. That is completely normal. Open a window if you want. The smell clears up after rinsing.
Step 5: Let It Sit (Optional But Helpful)
If your machine has not been cleaned in a long time, try this extra step.After you run the first full cycle of vinegar solution, turn the machine off. Let it sit for 30 minutes before continuing. The vinegar solution stays inside the internal parts and keeps working on the scale.
Then turn it back on and finish running the rest of the reservoir.This gives the vinegar more time to break down stubborn buildup. It’s especially helpful if you have hard water at home.
Step 6: Rinse with Fresh Water
Vinegar cleans well. But you don’t want it in your next cup of coffee.Empty the reservoir. Rinse it out well. Fill it back up with fresh, plain water.Run 3 to 4 full brew cycles with just water. This flushes out any leftover vinegar from inside the machine.
Dump each mug of water as it comes out. Keep rinsing until the water runs clear and you don’t smell vinegar anymore.This part is important. Skipping the rinse cycles means your next pot of coffee might taste like a salad dressing. Nobody wants that.
How Often Should You Do This?
Here’s a simple guide based on how much you use your machine:
| How Often You Brew | How Often to Descale |
|---|---|
| Every day | Every 1 to 2 months |
| A few times a week | Every 3 months |
| Occasionally | Every 4 to 6 months |
| Hard water at home | Every 4 to 6 weeks |
Hard water speeds up scale buildup. If your tap water leaves white spots on dishes or faucets, you have hard water. You should clean your Keurig more often.Some Keurig models have a descale light that turns on when it’s time to clean. If yours has one, don’t ignore it. That light means scale has already built up enough to affect performance.
What Happens If You Skip Cleaning?
Honestly? Your machine slowly gets worse. Here’s what happens over time if you skip descaling:Your coffee starts tasting flat or slightly off. The brew gets slower. Sometimes the machine stops mid-cycle. The water comes out at the wrong temperature, too cool to brew properly.
Eventually, heavy scale can damage the internal parts. This can shorten the life of your machine. A Keurig that costs a couple hundred dollars can fail early just from mineral buildup.Learning how to clean a Keurig with vinegar protects your investment. It keeps your machine running the way it should. And honestly, clean machines make noticeably better coffee.
Tips That Actually Help
A few things people get wrong when they try this at home:
Use white vinegar only. Apple cider vinegar smells different and can leave residue. Stick with plain white distilled vinegar.
Don’t use too much vinegar. Equal parts vinegar and water works well. Full-strength vinegar is not better. It can damage rubber seals inside the machine over time.
Run enough rinse cycles. Three is the minimum. Four or five is better if you’re cautious. You want zero vinegar taste left in the machine.
Clean the outside too. The internal descaling does most of the work. But wiping down the outside and washing the removable parts every few weeks keeps your whole machine clean, not just the inside.
Don’t forget the drip tray. That tray collects overflow liquid and gets moldy fast if you ignore it. Pull it out and wash it with soap every week or two.
Can You Use a Commercial Descaler Instead?
Yes. Keurig sells its own descaling solution. Other brands make similar products. They work fine.But how to clean a Keurig with vinegar gives you the same results at a fraction of the cost. A bottle of white vinegar costs less than a dollar at most grocery stores. Commercial descalers often cost ten to fifteen dollars or more.

Both methods do the same basic job. They break down mineral scale inside the machine. Vinegar just does it cheaper.Some people find that commercial descalers leave less of a taste behind. If you struggle to fully rinse out the vinegar smell, a commercial solution might be worth trying. But for most people, the vinegar method works great with enough rinse cycles.
Quick Review: The Full Process
Here’s the whole thing in one place so you can refer back to it easily:
| Step | What to Do |
|---|---|
| 1 | Remove and wash all removable parts |
| 2 | Clean the needle with a toothpick |
| 3 | Fill reservoir with 50/50 vinegar and water |
| 4 | Run full brew cycles until reservoir is empty |
| 5 | Let sit 30 minutes if machine is very dirty |
| 6 | Refill with fresh water and run 3 to 4 rinse cycles |
| 7 | Wipe down the outside and you’re done |
Final Thoughts
Your Keurig works hard. It brews coffee fast every single morning. The least you can do is clean it every couple of months.How to clean a Keurig with vinegar is not complicated. You don’t need a plumber. You don’t need special tools. You need vinegar, water, and about 45 minutes of your time.
Do it regularly and your machine will last longer. Your coffee will taste better. And you won’t have to deal with a machine that suddenly stops working because it was clogged with years of mineral buildup.Go check under your sink. Grab that vinegar. Your Keurig will thank you.
FAQs About How to Clean a Keurig with Vinegar
Can I use apple cider vinegar instead of white vinegar?
No, stick with white distilled vinegar. Apple cider vinegar has a stronger smell and can leave a residue inside your machine. It might also affect the taste of your coffee even after rinsing. Plain white vinegar is cheap, easy to find, and works perfectly.
How long does the whole cleaning process take?
About 45 minutes to an hour. Most of that time is waiting for brew cycles to finish. The actual hands-on work is maybe 10 minutes. If you let the vinegar sit for 30 minutes inside the machine, add that to your total time. It is not a fast process but it is an easy one.
My Keurig still smells like vinegar after rinsing. What do I do?
Run more rinse cycles. Three cycles is the minimum but some machines need five or six. Fill the reservoir with fresh water and keep running it through until the smell is completely gone. Do not brew coffee until the vinegar smell has cleared. Patience here saves your next cup.
Is it safe to clean a Keurig with vinegar regularly?
Yes, but do not overdo it. Cleaning every one to two months is fine for daily users. Using full-strength vinegar every week can slowly wear down the rubber seals inside the machine. Always dilute it with equal parts water and keep cleanings spaced out.
What if my Keurig is not working better after cleaning?
Give it a full day and try again. Sometimes heavy scale takes two rounds of vinegar cleaning to fully break down. If the machine still runs slow or stops mid-brew after a second cleaning, the problem might be something other than scale. Check the needle for clogs, make sure the water reservoir is seated properly, and contact Keurig support if the issue continues.